This article covers running a member group: creating it, deciding who can join, handling join requests, managing members and admins, and changing the group's settings. To browse, join, or leave a group, see the article on joining member groups.
Creating a group requires the Create Member Group permission.
Group admins can manage their own group: approve requests, add and remove members, and change its settings. Group admins don't need a special role. Whoever creates a group becomes its first admin.
Anyone with the Manage Member Groups permission can manage every group in the community, including groups they don't belong to.
Deleting a group requires the Delete Member Group permission.
Some options may be unavailable or appear differently depending on your level of account access.
In the main navigation menu, expand Members & Groups and click Groups.
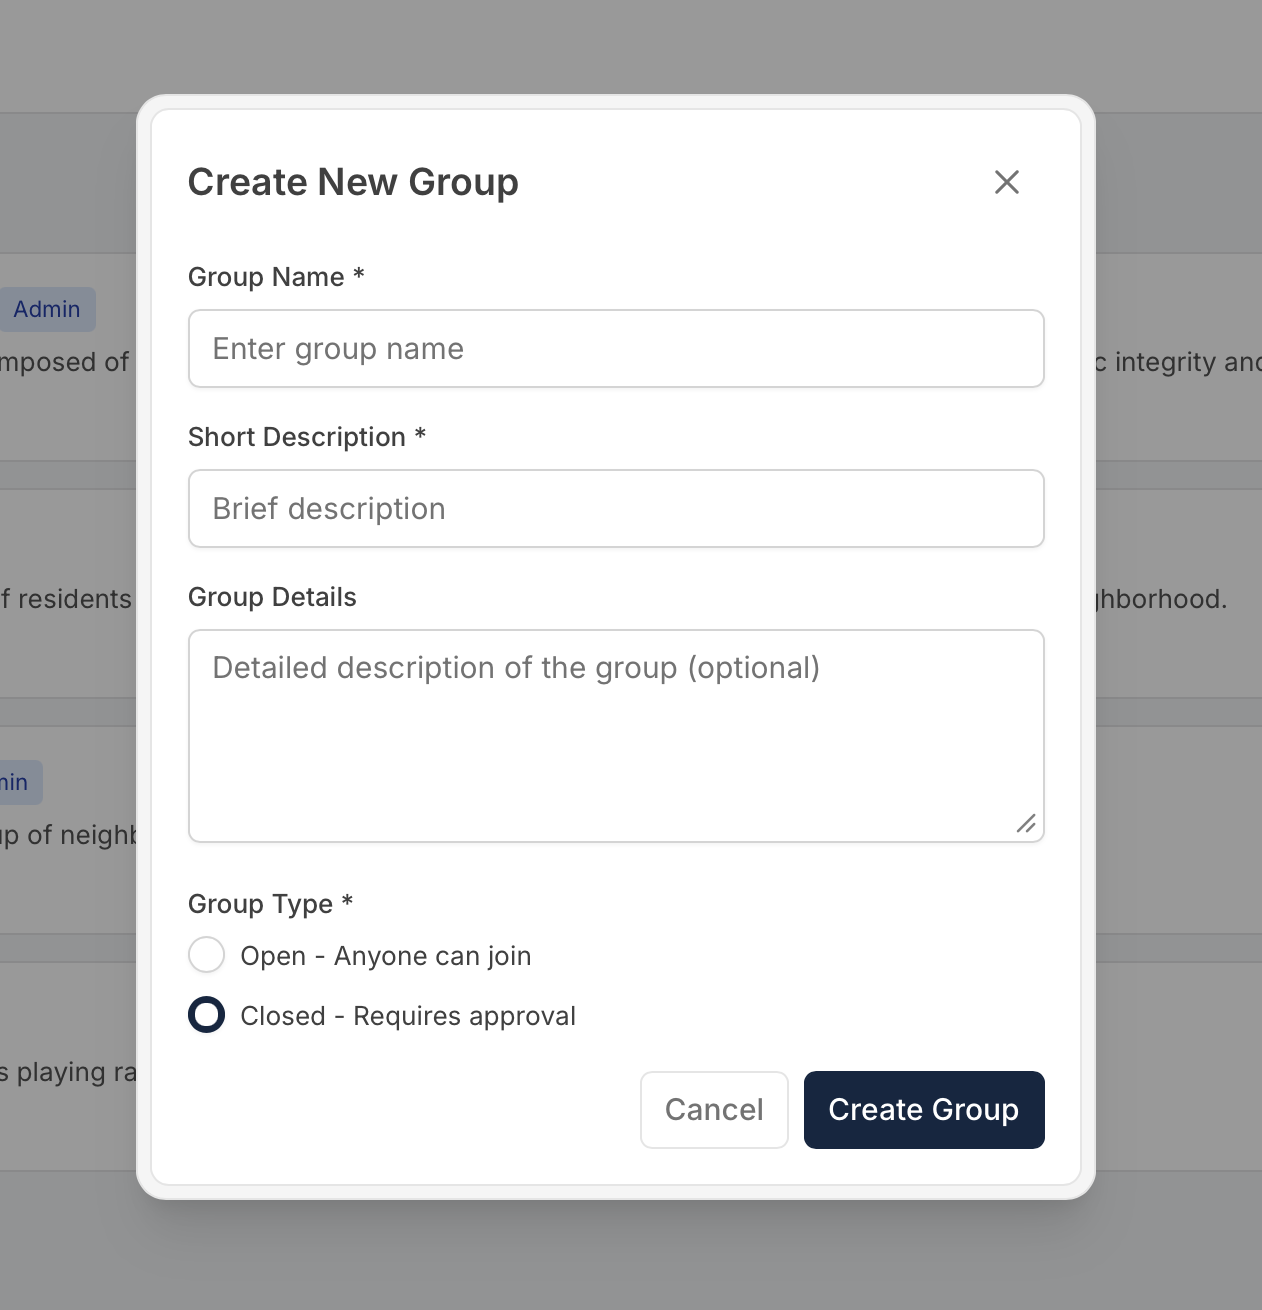
Click New Group in the top-right corner.
Enter a Group Name and a Short Description. The short description appears on the group's card.
Optionally, add Group Details: a longer description shown on the group's page.
Under Group Visibility, choose Public (anyone can join right away) or Private (only members can open the group).
If you chose Private, check Allow members to request to join if residents should be able to ask to join. Leave it unchecked to keep the group invitation only.
Click Create Group.
When someone asks to join a group you manage, its card on the Groups page shows a pending count, such as 3 pending.
Click the pending count on the group's card. You can also open the group and go to its Members tab, where pending requests are listed at the top.
Click Approve or Reject next to each request.
Open the group and click the Members tab. From there you can:
Click Add Members to add people directly, without a request. This is how members get into an invitation-only group.
Click Make Admin next to a member to make them a group admin, or Remove Admin to take admin access away.
Click Remove from Group next to a member, or select several members and remove them together.
Click Export to download the member list.
You can't remove your own admin access unless you have the Manage Member Groups permission. Make someone else an admin first and ask them to do it.
Open the group and click the Settings tab. Only group admins and people with the Manage Member Groups permission see this tab.
Change the group's name, color, short description, and full description, then click Update Basic Info.
Group Visibility: Public groups can be seen and joined by anyone in the community. Private groups are listed in the community, but only members can open them or see their posts, files, and activity.
Allow members to request to join: for private groups. When it's off, the group is invitation only and an admin adds each member. When it's on, residents can send a request for an admin to approve.
Allow members to leave the group: when it's off, members can't leave on their own and an admin has to remove them.
Allow non-members to message this group: when it's off, only members can message the group. Community Leaders and anyone with permission to message all community members can still reach it.
Allow non-members to see who's in this group: for private groups. Lets any community member view the member list without joining, which is useful for a group like an HOA Board.
Share message history with current members: messages sent only to the group stay with the group. New members can read past conversations, and people who leave lose access to them.
Who can post to the bulletin board?: All Members lets any group member post. Admins Only limits posting to group admins.
Require post approval: new posts wait for a group admin to approve them before they appear.
Allow members to like posts and Allow members to comment on posts turn likes and comments on or off for the group's posts.
Shows the group's statistics and its list of Group Administrators. You can remove an admin from here too.
If you have the Delete Member Group permission, the group's Settings tab ends with a Delete Group section.
Click Delete Group.
Check each box to confirm what will happen: the group's bulletin board posts, calendar events, photos and albums, and documents are archived and hidden, and all members are removed.
Confirm the deletion.
You can't undo deleting a group.
If you have questions or need help, chat with Communitrak Support from any page using the messenger icon in the bottom-right corner.
